A division of Stadtwerke Kufstein.

Webhosting-FAQs

How do I manage my email addresses in Plesk?
  1. Open your browser and navigate to https://kXXXXX.kufnet.at:8443
  2. Log in using the access credentials provided by KufNet.
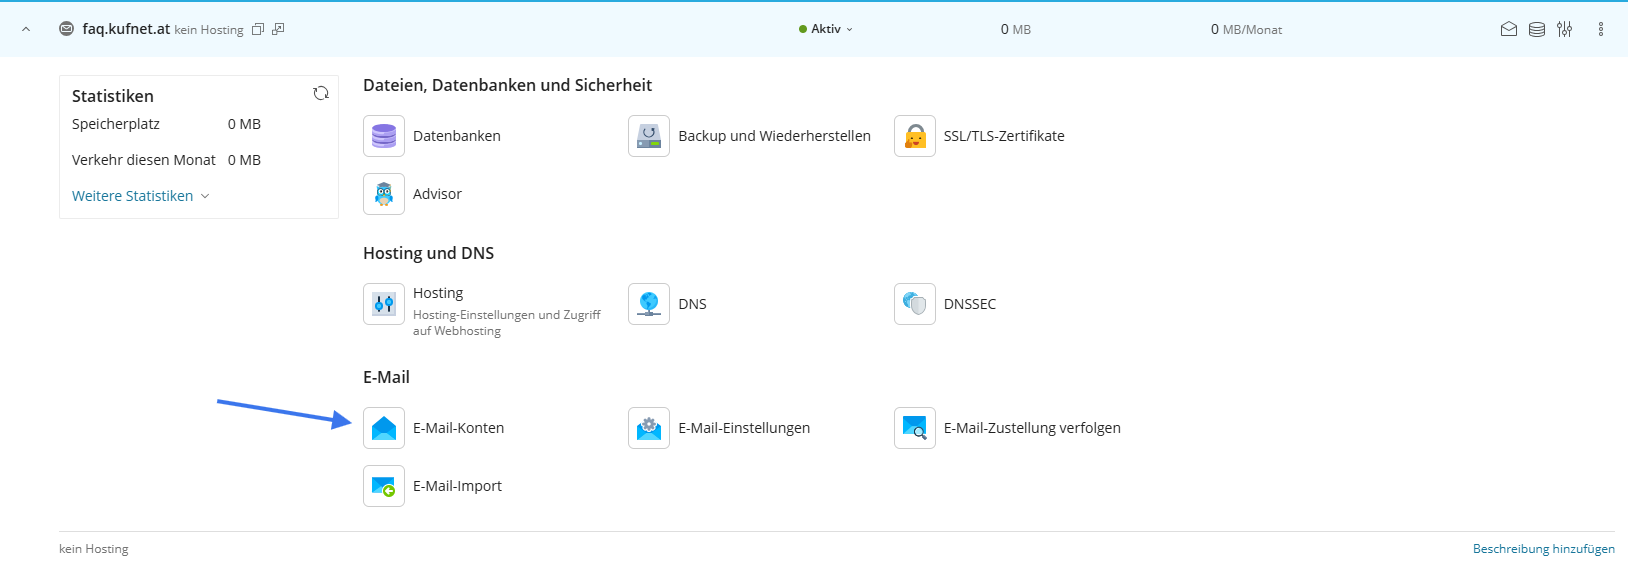
  3. Select your desired domain, then click on the “Email Accounts” tab to manage or create an email address.
  4. To create a new email account:
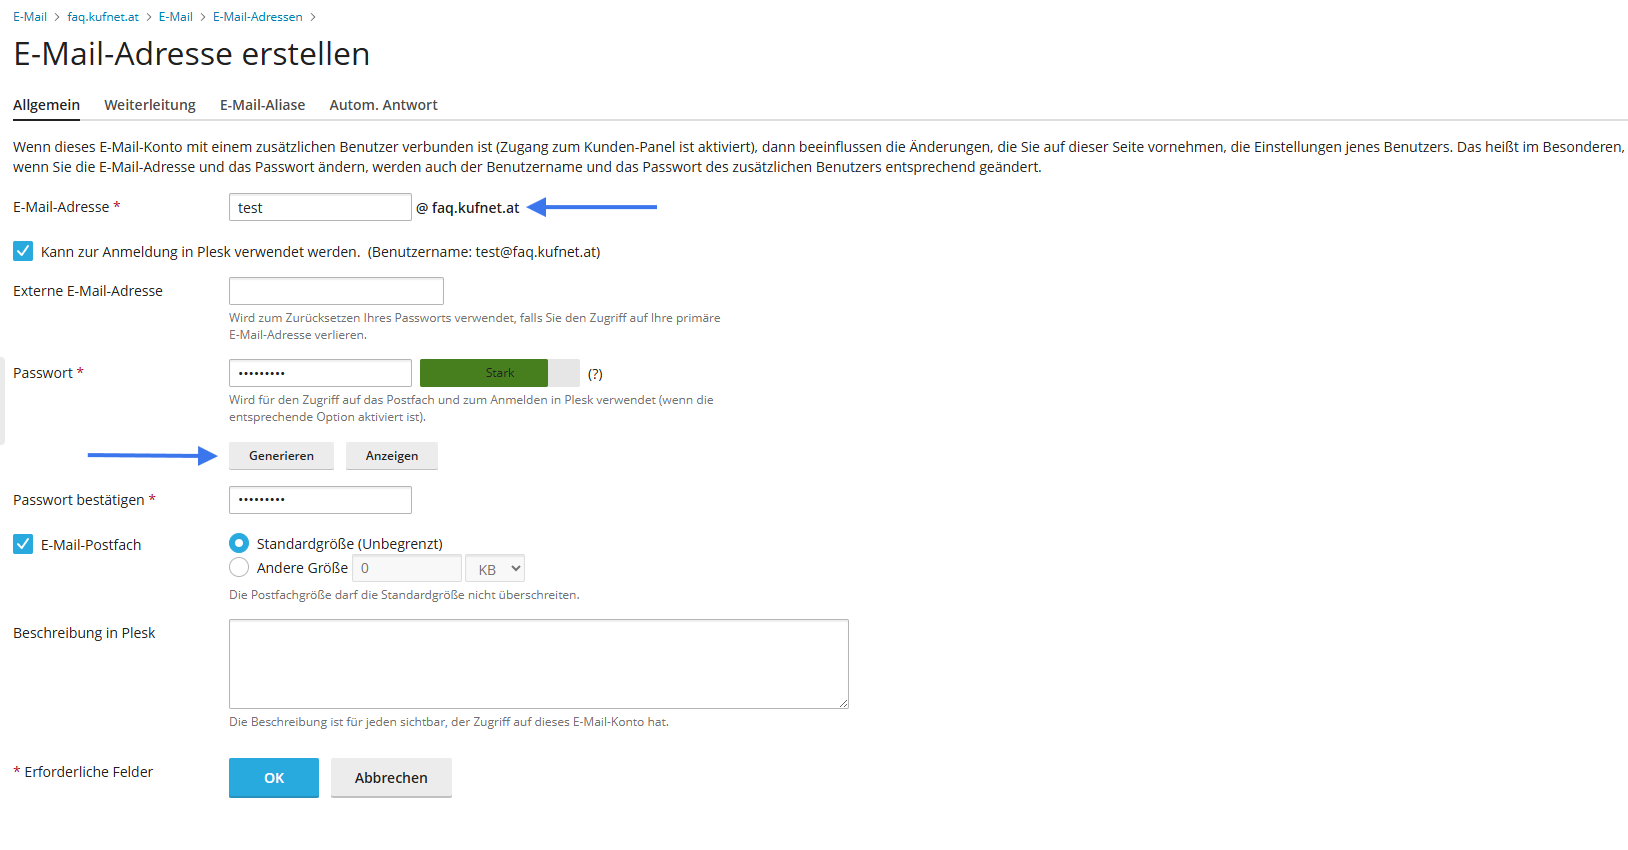
    Click “Create Email Address”
    Enter your desired email name (the domain suffix will be added automatically)
    Set a secure password of your choice

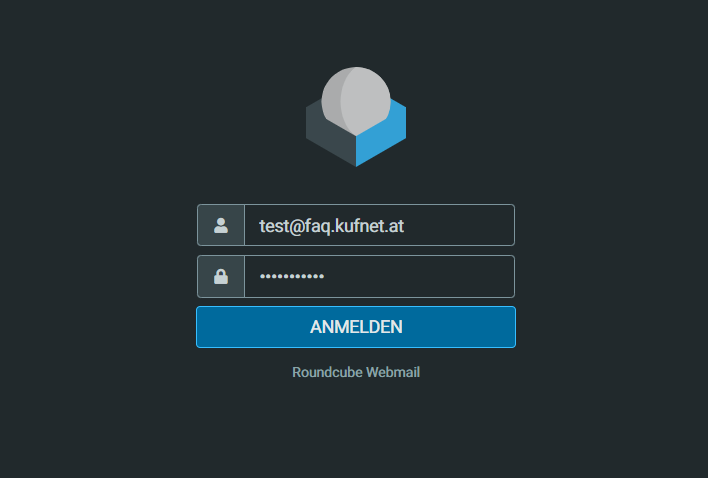
Once created, you can log in via webmail.DOMAIN – simply replace DOMAIN with your registered domain (e.g. kufnet.at).

1
2
How does the web login with my email address work?

To use your personal webmail interface, you first need to create at least one email address. For setup instructions, refer to the FAQ: “How do I manage my email addresses in Plesk?”

Once your email address is created, you can log in at:

webmail.DOMAIN
Replace DOMAIN with your registered domain (e.g. kufnet.at).

1
Configuring DNS Entries in Plesk

Open your browser and go to: https://kXXXXX.kufnet.at:8443

  1. Log in using the access credentials provided by KufNet.
  2. Select the desired domain.
  3. Navigate to the "Hosting" section and then click on "DNS".
  4. In the DNS settings, you can now add or edit the necessary DNS entries.

You'll need the following details:

  • Record type: Select the type of DNS record (e.g. A, CNAME, MX, etc.)
  • Domain name: The desired name for your subdomain.
  • IP address or record value: The target IP address or specific value to be set.

Once entered, save the settings to apply your DNS configuration.

1
2
Configuring FTP Accounts in Plesk
  1. Open your browser and navigate to: https://kXXXXX.kufnet.at:8443
  2. Log in using the access credentials provided by KufNet.
  3. In the Plesk dashboard, go to the section labeled "FTP".
  4. Click on "Add FTP Account" to create a new account.
  5. Enter the following details:
  • FTP account name: Your preferred account name
  • Home directory: The directory where files will be stored
  • Password: Choose a secure password

Confirm and save to create the FTP account.

1
2
Installing WordPress in Plesk

To set up your WordPress website via Plesk, follow these steps:

  1. Log in to your Plesk interface.
  2. Click on the tab “Getting Started” („Erste Schritte“).
  3. Select the “WordPress” section.

Before the installation begins, you’ll need to enter the following information:

  • Username: Desired admin username
  • Password: A secure password
  • Email Address: The email you want to associate with your WordPress admin account

Once the fields are filled out, click on “Install” („Installieren“).

Plesk will now install WordPress automatically. Your WordPress site will be ready for customization in just a few moments.

1
2
Setting Up Automatic Backups in Plesk

To configure automatic backups for your website or hosting in Plesk, follow these steps:

  1. Open your browser and go to https://kXXXXX.kufnet.at:8443
  2. Log in using the access credentials provided by KufNet.
  3. Click on “Backup & Restore” („Backup und Wiederherstellung“).
  4. In the Backup Manager, select the tab “Schedule” („Zeitplan“).
  5. Customize the backup schedule according to your preferences.
  6. Make sure to check the option “Activate this backup task” („Diese Backup-Aufgabe aktivieren“), otherwise no backups will be created.

Once activated, the backup system will automatically run backups at the scheduled time.

1
2
3